
Bleach Bypassing Vision3 50D 5203 with an ECN-2 kit by Quiet We're Dreaming

Living up some neo-noir vibes. Playing the villian and the femme fetale.
What is Bleach Bypassing, Silver retention, and a whole lot more
You may have heard of these terms such as bleach bypass, ACE, ENR, and CCE. They are all different processes, but the umbrella term for what all of them do to a colour film is silver retention. Colour film differs from black & white by featuring dyes contained in three layers each reproducing the respected wavelengths of blue, green, and red light. However, on their own these layers can't capture an exposure as they aren't sensitive to light. Therefore, colour film still contains the same silver found in black and white film stocks to create an exposure within the colour layers. But the amount of exposure and development the silver requires to create an adequate exposure within the colour layers results in a very dense film. To put it simply, it's as if there's a black and white image on top of the colour image. In black and white processing, the developer converts the exposed silver ions into metallic silver, and the fixer removes any undeveloped parts of the negative that are in the form of silver bromide. When developing colour stocks, a bleaching stage is introduced between developing and fixing, its purpose is to reconvert the developed silver back into silver bromide. Meaning, by the time of the fixing stage, all the silver in the negative is removed leaving a pure colour image.
Silver retention refers to any process that involves keeping any amount of silver in the film that would've been removed from the bleaching stage in standard processing. There are many ways to do this, but the simplest and most discreet way of doing it by hand is bleach bypassing. Bleach bypass or skip bleach as the name suggests is to skip the bleaching stage altogether leaving the metallic silver in the image just like a black & white film.
There are several benefits this process has for a cinematographer. The first is a practical reason; if the resulting negative is denser, then the film is faster. Light is valuable, so having a process that can make a colour negative capture an adequate exposure with less light can be useful. It can mean using film stocks for low-key lighting situations that would've otherwise not been applicable for such scenarios. Secondly, the process results in a sensitometric curve with a steeper gradient, or a higher gamma as it is described. This gives it an advantage over push processing, which is an inferior process for colour negative film. When pushing black and white film one or two stops, the curve becomes steeper giving the image more contrast when compensating for under exposure. For colour negative film, an increase in development moves the curve higher with little alteration to the gradient but creates more fog. By leaving the silver in, a colour film adopts the same qualities as a black and white film allowing for more contrast. Another quality of the density of the silver being higher than what is formed in the colour layers, is the resulting image being desaturated. The combination of low-key lighting, high contrast, and low saturation can be vey desirable and I’d argue it lends itself to stories that fall into the neo-noir genre.
To my knowledge the first noted example of silver retention was Brother (1960) by Japanese director Kon Ichikawa. A film synonymous with myself and the five other people who searched for it on IMDb and looked up the trivia page to find the lone fact about its pioneering use of silver retention. Some more notable examples include many of Steven Spielberg's more mature work around the tun of the millennium such as Saving Private Ryan, AI, Munich, and my personal favourite Minority Report. Other films include Nineteen Eighty-Four, Delicatessen, Fight Club, and everyone's favourite Se7en.

Se7en (1995)
Even though all these films use silver retention, the specific process and how it's applied varies. Firstly, despite being well known and relatively easy to perform, it is very rare that a full bleach bypass would be used for a feature film. The ACE, CCE and ENR processes are preferred as a full bleach bypass results in a high amount of density that is difficult to use in contact printing. Secondly, silver retention is rarely done to the original negative, but instead further down the line on a print after various duplications from contact printers. The raw stock that runs through the camera is simply too valuable for such treatment. Whenever you hear someone describing silver retention as a process that makes an image very black, they are likely referring to the added density when creating a positive print from a negative. Therefore, the opposite effect of making highlights bloom as is the case in Minority Report, is the result of the process being applied to the raw stock itself or an inter negative. But what silver retention does to the highlights or shadows depends on how the film is exposed in the first place.

Minority Report (2002)
Also keep in mind, unless you've seen a theatrical release print of any of the films I've cited as an examples of silver retention, then you've likely only seen these films in a digital form. This is a product of scanning the film from the original negative - if possible - followed by restoring and grading the image digitally. Scans made from prints are avoided as they're of inferior quality due to generation loss, couple that with the increased density of silver retention and you have something that is far from ideal to work with when creating a digital release. This would mean the silver retention process used on these films is recreated digitally and leaving few to have seen the real thing in its photochemical form.
To use Se7en as an example, this article details the various theatrical and home releases, and whether each version uses CCE or simply a digital recreation. So, if you try silver retention yourself and you think "why doesn't this look like Se7en?", you have to ask yourself "what does Se7en look like?". It depends on what version of the film you've been exposed to.

But most importantly, silver retention is simply another tool within cinematography. The process is not just an aesthetic that increases contrast and lowers saturation. The look achieved in these films is a combination of what silver retention provides practically to the lighting, the format used, the selection of lenses, and many other factors not limited to the camera and lighting department.
My experiment
After my experiment of cross processing the new 16mm Ektachrome for my short documentary Quad Euphoria, I wanted to dabble with alternative processing methods further. On top of that, I've wanted to take an opportunity to get more experience with lighting in the hopes of making another short film but with the ability to shoot in interior locations. So, I decided to have a bit of fun and create some self-portraits, using a redhead, a C-stand, a few foam boards, black felt, a shower curtain, and various other grip equipment at my disposal.
I have experimented with bleach bypassing before with Kodak Portra 160 using Tetenal Colortec C-41 kit. I rated the film at 320 ASA and excluded the brown chemical of the blix solution. The kit doesn't specify which chemicals are the bleach and the fixer, but the clear chemical of the blix solution sure looked and smelled like rapid fixer, so I thought only diluting that would do the job. And the results were plausible, but not ideal. It appears the anti-halation layer remained on the film after skipping the bleach, as the entire negative was obscenely dense, not just the exposures. Most of scans were fine and looked how I expected them to. However, images that were overexposed took on a blue tint, almost as if the film became tungsten balanced.

Some stills of Clare before filming Quad Euphoria. Shot on Portra 160 bleach bypassed with C-41. Left: adequately exposed producing dense highlights. Right: overexposed producing strong blue tint and overwhemingly dense highlights.
As I intend to apply this method to 16mm, and the simplest form of silver retention to do by hand is a full bleach bypass to an original colour negative. A colour negative film intended for motion pictures meant a logical choice was to shoot on a Vision3 stock. As I mentioned in my previous blog, Vision3 stocks require the ECN-2 process which is challenging due to the various temperatures of each bath, the narrow tolerance for the temperature of the developer, and the dreaded rem-jet backing. But I put my fears to the side and got an ECN-2 hand processing kit by the wonderful folks at Quiet We're Dreaming.

I can’t recommend this kit enough!
As for what film to shoot on, I made the subversive choice to go for a daylight balanced stock despite shooting with tungsten light. This was inspired by the results I got from the Portra 160, expecting the same blue tint to occur again. This narrowed down the options to Vision3 50D and Vision3 250D. I picked the former reckoning the added density would give the film more than enough speed for the lighting conditions. Considering the self-portraits were to be in the form of still photographs, I shot on 5203, the 35mm format of the film but repackaged into 135 cassettes. This can be done by investing in a roll of 35mm motion picture film and a bulk loader, or by purchasing individual cartridges from a service that will repackage it for you. I choose the latter for this experiment.

These self-portraits served as a test to find what speed provided an adequate exposure when bleach bypassing, and what kind of latitude is required. Therefore, I decided to take 8 different exposures for each unique setup, shooting at four speeds twice (25, 50, 100, & 200 ASA), with half the shots in a set up where light was bounced back into the fill side of the face with a white foam board, and the other half with negative fill using a foam board covered with black felt.
After my frustration with the Lomo tank's draining time, I sought to experiment with the temperature to increase developing time to avoid uneven development. The developing stage of the ECN-2 process is performed at 41.1°C for 3 minutes, which doesn't provide a lot of tolerance considering it takes about 30 seconds to drain the Lomo tank, and that can mean a full stop of development across the film. So, I decided to go for a temperature of 30°C for 8 minutes, a recommended time stated in the Tetenal Colortec C-41 developing kit. I'm very much going against what's advised in Kodak's datasheet about ECN-2. It's adamant about 3 minutes at 41.1°C ±1°C stating, "small deviations can lead to severe contrast mismatches".
Also, I did this experiment across two rolls, and decided to develop the second roll again at 30°C but for only 6 minutes and 40 seconds - my estimate for pulling the development by one stop. This was out of an idea I came across from browsing forums. Instead of compensating for the added density by under exposing, why not shoot at box speed and inhibit the development? Seemed like a reasonable idea, so I continued shooting 8 different exposures across this roll too.

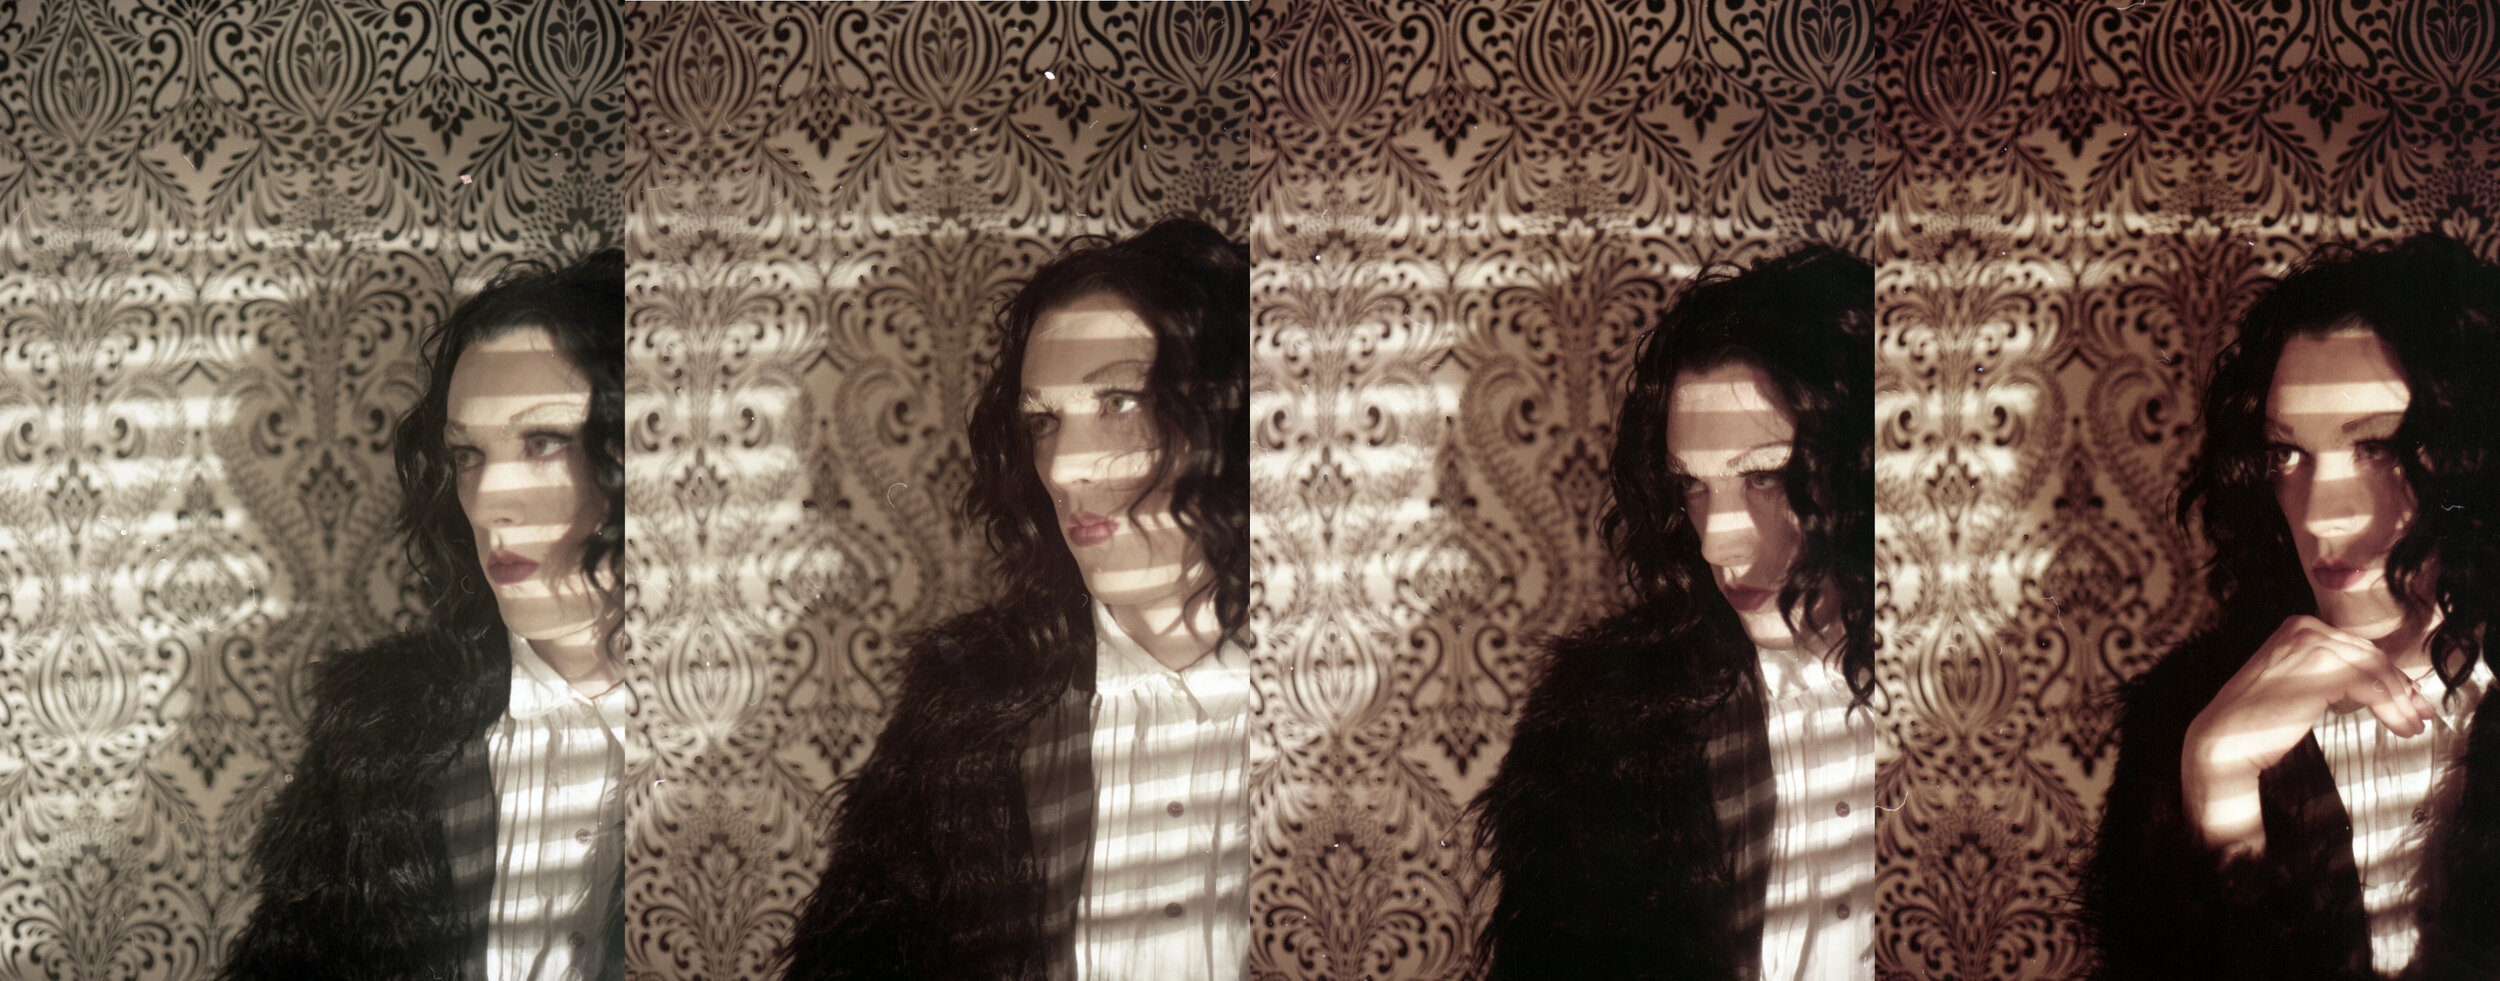
From left to right: 25, 50, 100, & 200 ASA
The results were wonderful. Firstly, there was no need to fear about the anti-halation layer remaining on the negative this time, as the pre-bath for removing the rem-jet sorted that out. By the way, I can’t get over how easily the pre-bath caused the rem-jet to come off in the rinsing stage. That kit from QWD is magic! And then there are the scans themselves, and it seems the film remained daylight balanced. It's hard to tell with the lack of saturation; the tungsten light gives the images an almost sepia toned quality. There was no discernible difference between the roll developed for 8:00 and the one for 6:40, so I'll stick to 8:00 in future. The exposures taken with negative fill look much better than those with white bounce, so I can confidently say that even with the high contrast there is still sufficient latitude, so there’s no need to worry about filling in the shadows. Out of the four speeds I think 200 ASA is the best. The added density keeps the highlights and mid tones adequately exposed, whereas the shadows are neatly thinned out leaving a solid black, perfect for a chiaroscuro style. Forgivingly, 50 and 100 ASA aren't too bad, but exposures at 25 ASA have poor contrast and an unflattering green tint.
Overall, I'm very satisfied with the results and there’s no doubt that I’ll use this technique on a project in 16mm!
From left to right: 25, 50, 100 & 200 ASA.